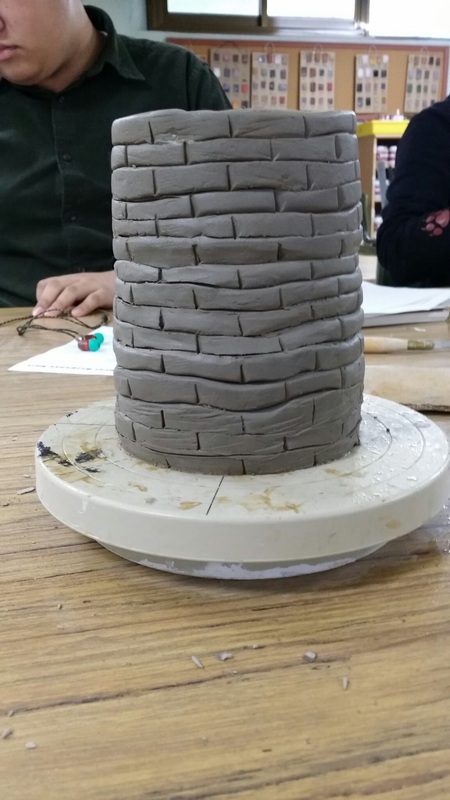
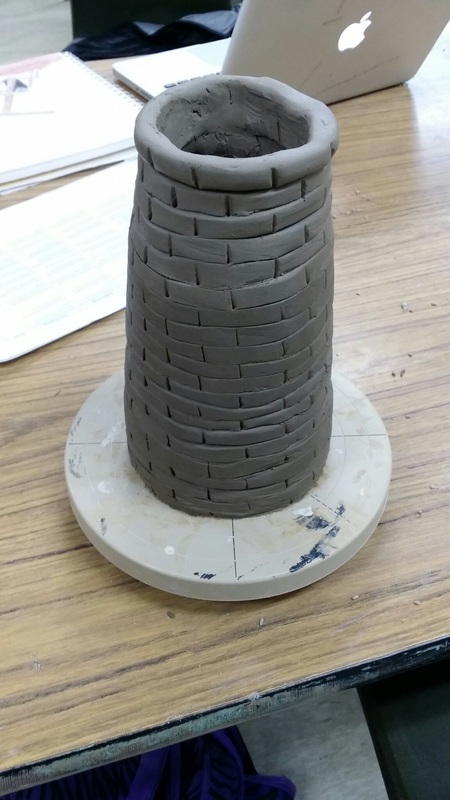
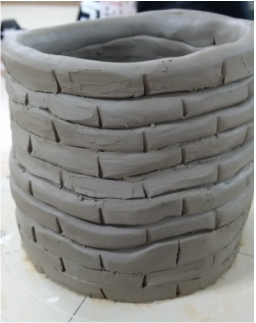
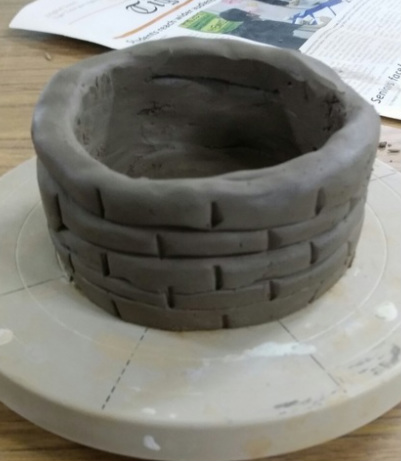
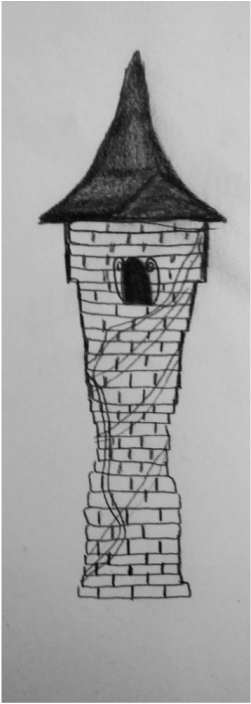
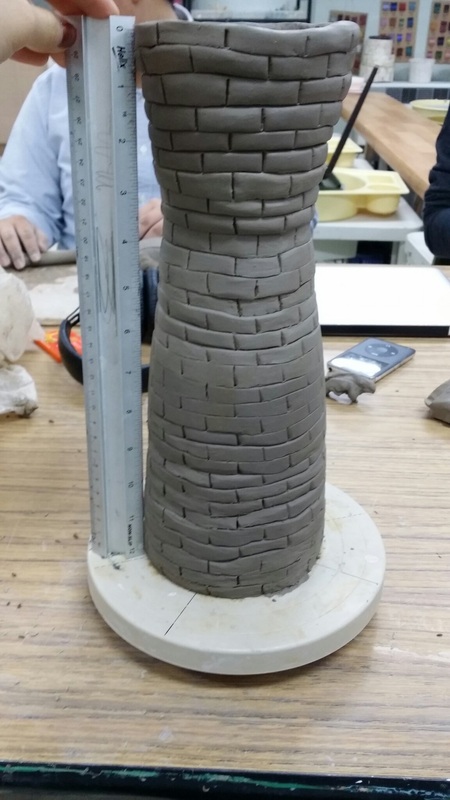
I finished my coil pot today!! Well, almost. I finished the main base and it is just a little under 30 cm right now. I still have to make the roof though, so it's okay if the pot shrinks because the roof will put it well over 30 cm. I'm planning on piercing a small window, probably near the top of the pot. I couldn't do it today obviously because the clay was too plastic, but I think it'll be perfect after I return from thanksgiving weekend. I'm just happy that I finished coiling and it looks okay! It's pretty sturdy too, so I don't have to worry too much about it collapsing or anything. Can't wait to add more details to it next week! I'm thinking about wrapping little vine coils on it as well. I'll test it out and see how it looks. This is it for now though! Update you next week, Bethany
Hello! Above you can see a picture of my pot on tuesday's class, and below, the most recent picture. I think my pot's really coming along so I am quite pleased. It is about 17-18 cm now, so I'm almost halfway there! As you can tell from the picture, I tried to make it a bit more interesting by making it coil in a bit, and now I am working on coiling out again. This is just to give it more shape, so it doesn't look like a plain old cylinder. I tried to smooth it out some more, and make it less lumpy by patting it down with a flat board. I'm having a lot of fun building my pot and can't wait till it's done!
Why, hello there. I don´t have much to update today, because I already blogged this week. I am going to try to blog every class, or at least take pictures every class, so that in case anything happens I will have photo evidence. Haha! All I did today was just add a few more coils. I´m working at a much slower pace than I expected! It takes me quite a while to complete just one coil, because I have to roll it out, make sure it´s nice, smooth it, add it to the pot, smooth it, add brick marks, etc. I found out what to do with the coil ends now though! See, last class I wasn´t sure what to do after you wrapped the coil around the pot at that area where the two ends meet. I just overlapped them, but that made my coils really weird and uneven. This time, I would cut off the extra and just smooth them into each other! It´s not a profound discovery or anything, but I´m just really happy that I figured out how to make my coils even so I don´t have those strange lumpy parts. Till next time, Bethany
I started building my coil pot today! I am using gray clay, because I want to use high-fire glaze when I am finished. Above you can see my brainstorm and the progress I made today. I didn't get to make many coils, mostly because this was my first time trying this, so I am still practicing. I had some difficulty rolling my coils, because they kept turning out different thicknesses. Also, I always had weak spots in my coils that I would have to add more clay to so that it doesn't rip. I think I got the hang of it towards the end though, so I am excited to work on this more next class. Before I cleaned up, I used a wooden modeling tool with a slanted edge to impress little lines onto my pot, giving it a brick texture! I can't wait to see what my pot will look like completed.
Today we started the coil pot unit. I didn't really do much today except glue in rubrics and browse PInterest, where I found these cool pictures. I'm not sure what I'm going to do yet, but I think these pots are really nice. The first ones are really plain, but something about them is really interesting and cool. They look kind of soft and squishy, like a plump bean bag. I have no idea why I think that.
I really like the tree concept too. I'm thinking of doing something with nature, maybe a flower or a vine. I saw this picture of coils that look like roses. It was pretty. I think the trees look nice and sophisticated. They remind me of birch trees, which are my favorite! I'm excited to start this new unit. |